This project is a PCB soldering kit in the shape of a menorah. The kit has been designed with some SMD and THT parts. If you plan to use this design as a kit for people who have no/minimal soldering experience, it is recommended to pre-solder the SMD parts before giving the board to them for them to solder.
Click the GitHub folder below to access the project's files, which include the KiCad PCB files, the Gerber files, and the Autodesk Inventor CAD files.
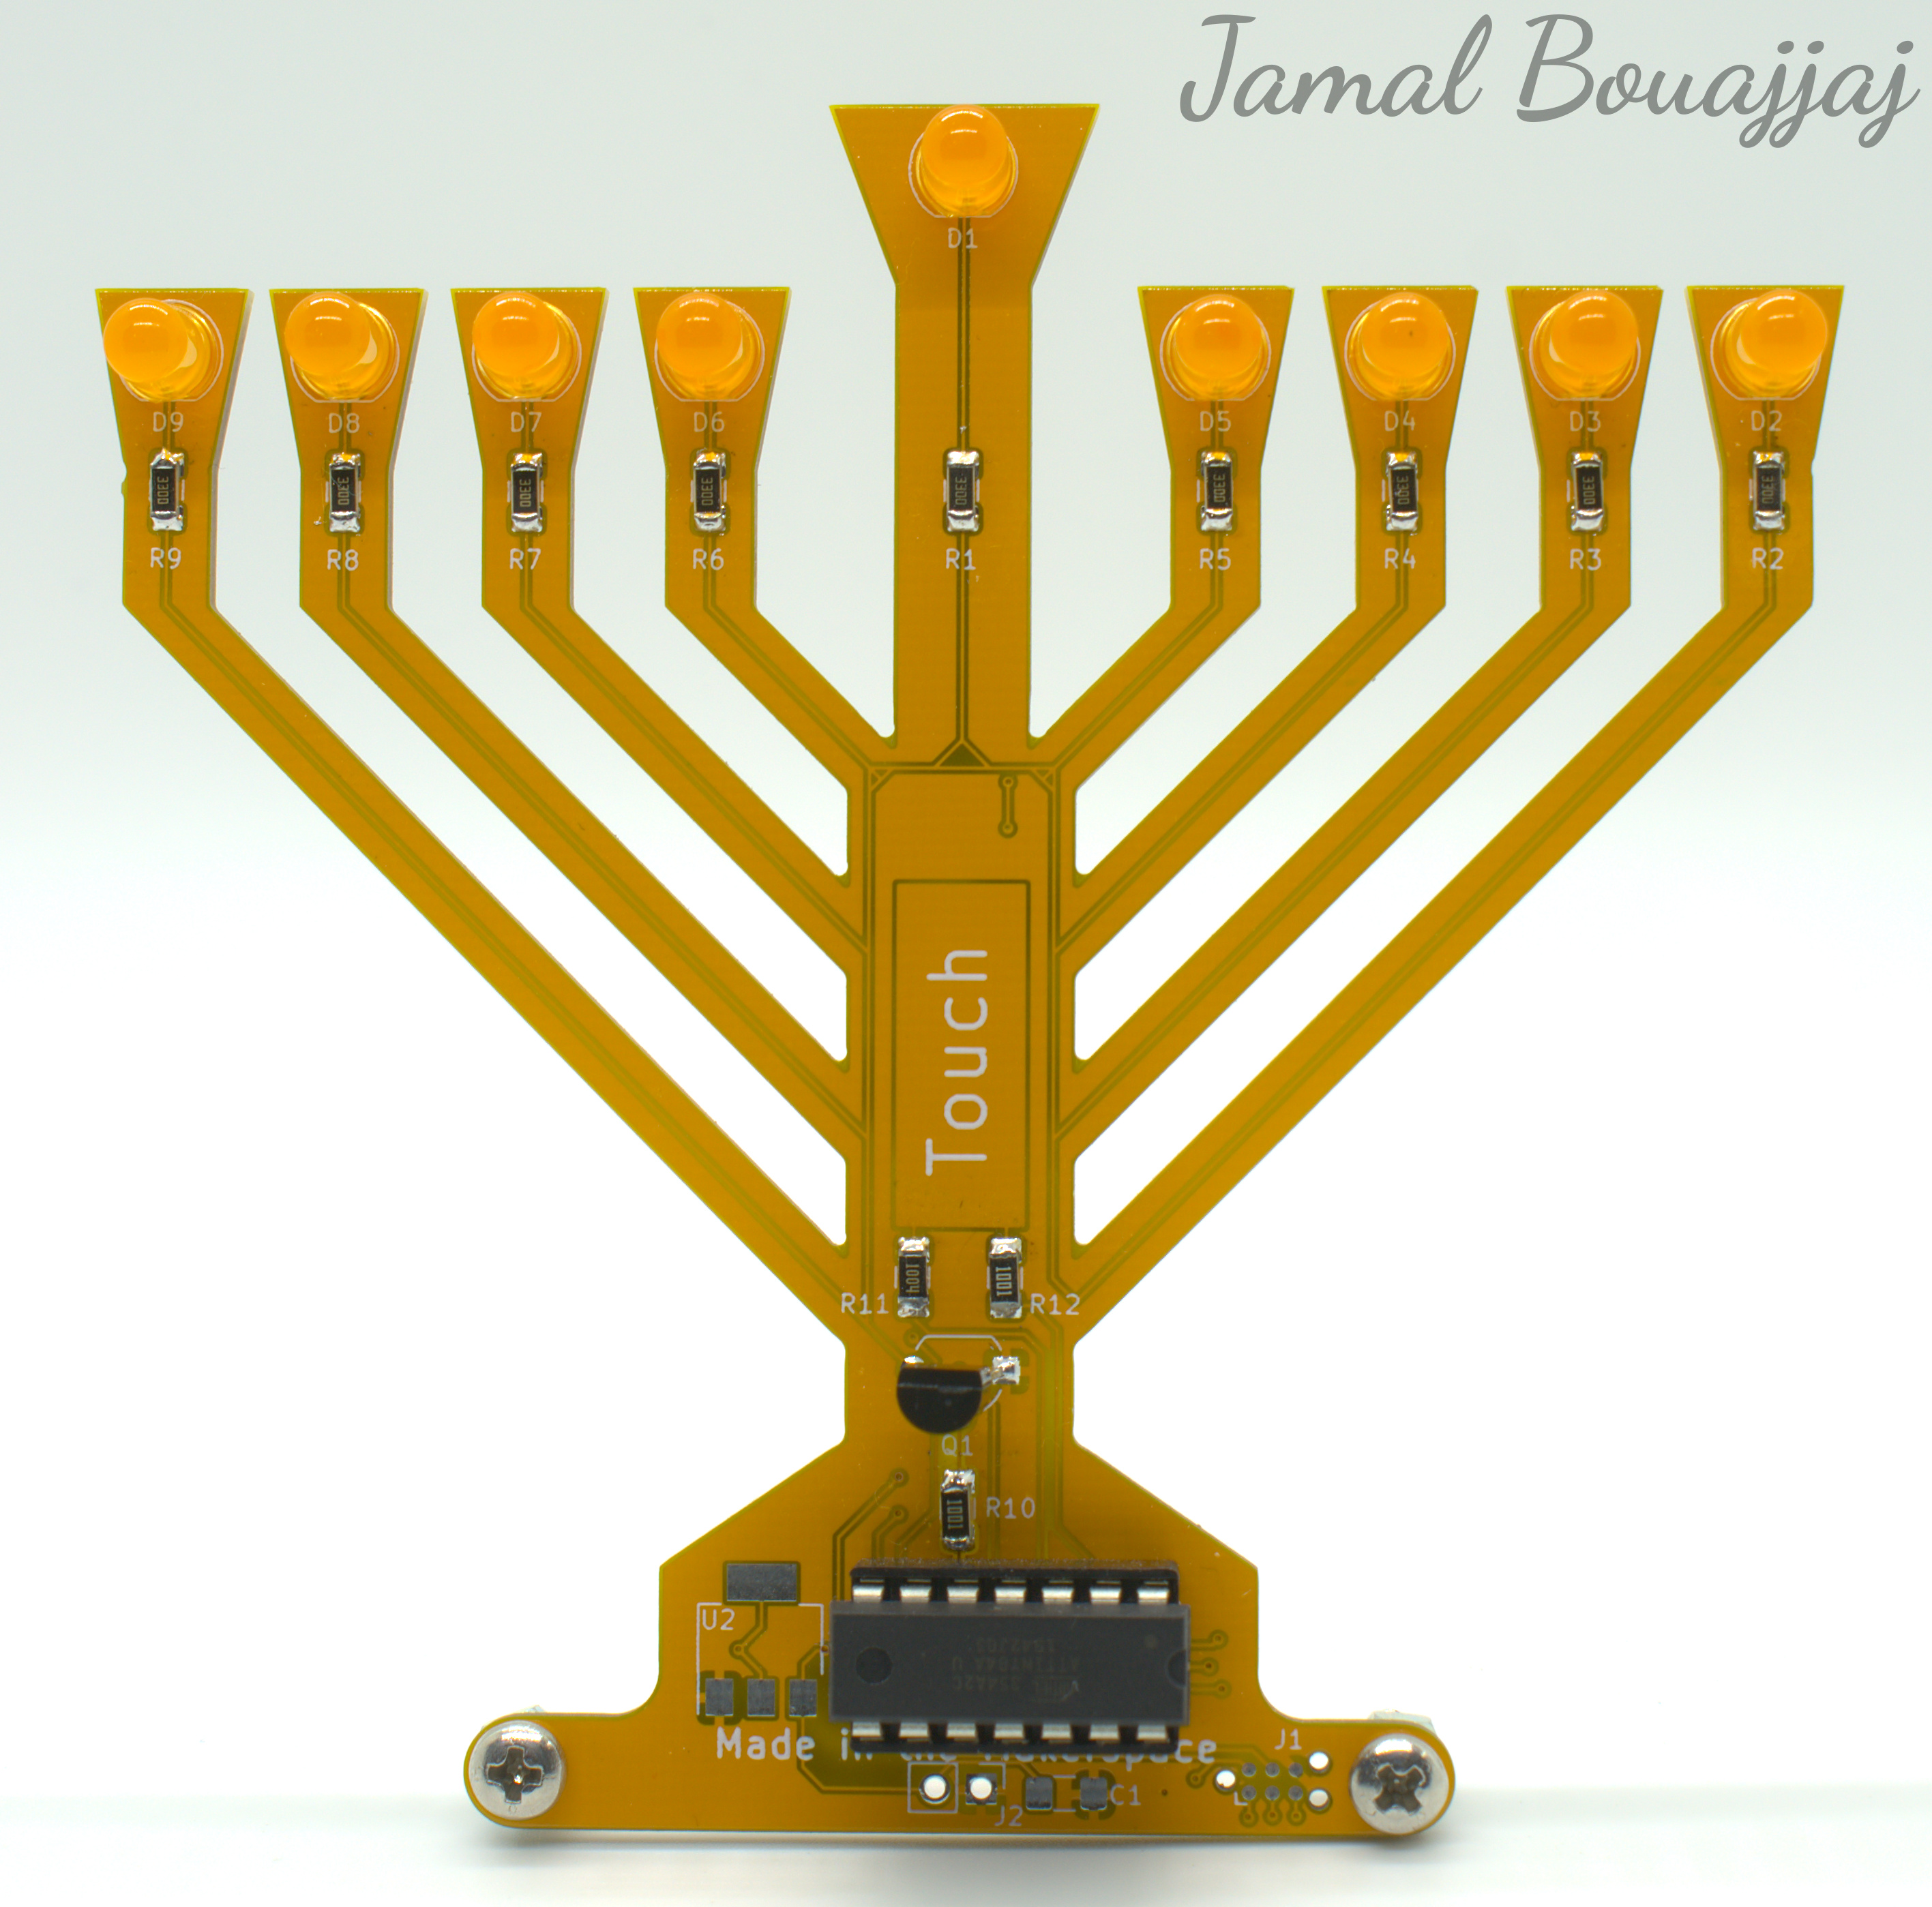
This kit has some THT and SMD parts to be soldered (THT means through-hole, and SMD means surface-mount).
| PCB Reference | Part Description | Package Size | Quantity per Board |
| U1 | Attiny-84 Microcontroller | DIP-14 | 1 |
| R11 | 1MΩ Resistor | SMD-1206 | 1 |
| R10-R12 | 1kΩ Resistor | SMD-1206 | 2 |
| R1-9 | 330Ω Resistor | SMD-1206 | 9 |
| D1-D9 | 5mm LED | THT | 9 |
| Q1 | 2N3904 NPN Transistor | TO-92 | 1 |
| F1 | 250mA Polyfuse | THT | 1 |
| J2 | 5-9v Battery Connector | THT | 1 |
| C1 | 1uF Capacitor | SMD-1206 | 1 |
| U2 | 5V Regulator | SOT232-3 | 1 |
The circuit is based on an Attiny84 microcontroller. This microcontroller controlls all LEDs except for the middle one on the high side(anode). On the low side(cathode), all LEDs are drived by a 2N3904 down to ground by the microcontroller. There is a copper pad in in the middle of the "candle", which serves as the capacitance touch pad. The CapacitiveTouch library is used in conjunction with a pre-determined threshold value to determine when the pad has been pressed or not. When pressed, the Attiny increments the number of LEDs on from left to right, like a real Menorah. All the LEDs are beign constantly drived in a matter that appears like they are a candle.
Here is the PCB's schematic:

Here is some diagrams relating to the project:


The PCB is designed to be screwed or tight-fitted into a case at the buttom of the board. I have designed such case, which you can find the STL and STEP for it in the project's GitHub repository.
For the board to be functional, the Attiny84 must be pre-programmed or programmed thru the Tag-Connect connector(J1). The software can found in the GitHub repository.